Planting time is right around the corner and boy are those weed seeds present and ready to compete for moisture, nutrients and sunlight.
You’ve got this year’s crop seed waiting in the barn and the Seed Bank in your fields is getting ready to make a large deposit to invest in ruining your future harvest right about the time you get to planting your corn, beans and other crop seeds.
For many organic growers and even some conventional growers Flame Weeding is the primary tool they use to kill weeds and weed seeds in their crop fields.
Flame weeding works by applying intense heat directed at the weeds effecting an immediate kill while doing little to no damage to your crop plants.
How does the flame kill weeds and weed seeds and not kill the crop?
That’s a question we’ll answer in another article on Red Dragon Agricultural Flaming Equipment.
Check out Fire Power For Your Farm for future articles on flame weeding and other topics.
As the battle between crops that feed our communities and the weeds that sap the life out of them begins, so does Flame Weeding Season.
Don’t wait for a weedmergency!
Starting early in the season with pre emergence or early emergence flaming is one of the keys to successful weed control and now is the time to get ready for flame weeding season.
Safety is your number one priority!
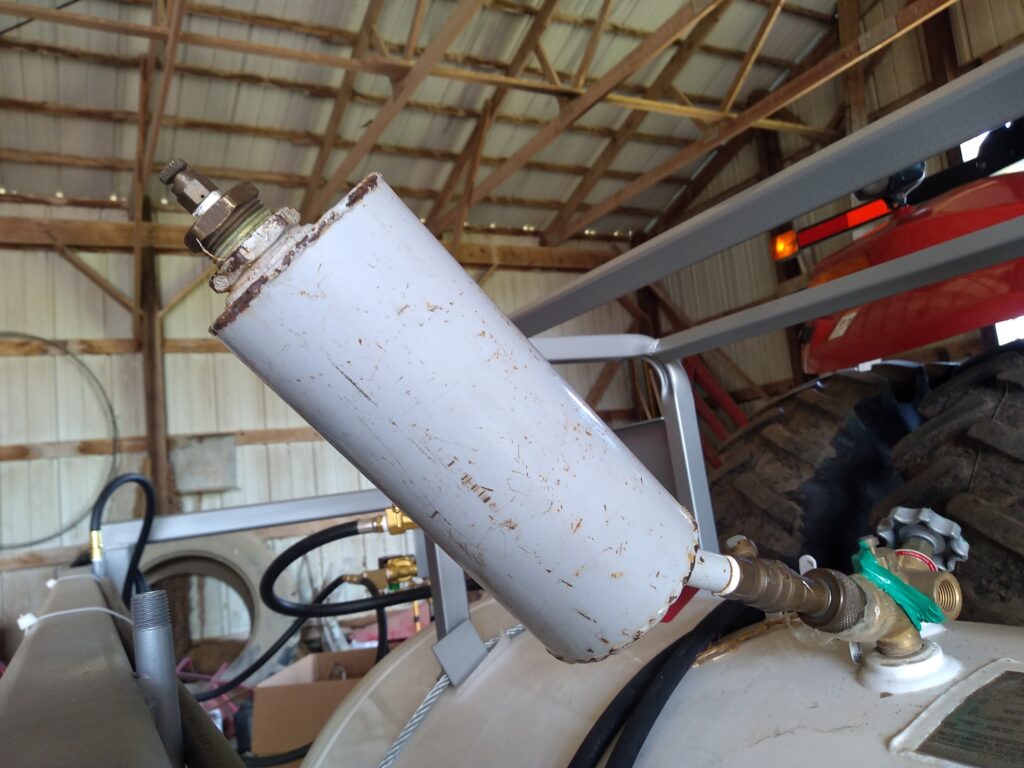
Have the tank inspected and filled by your propane company.

Remember to add 1 pint of methanol for every 100 gallons of propane at each fill.
Your propane company may tell you that is not necessary because they add methanol to the propane at the bulk plant before delivering it to you.
The amount of methanol they add to their bulk propane is a lot less than 1 pint per 100 gallons, so be insistent and ask for the additional pint per 100 gallons at each fill.
We call it “Cheap Insurance,” to be sure your flame weeder is operating at peak performance.
Perform a leak check and correct any leaks you detect to be sure your system is safe to operate.
Check your hoses and replace any that appear to be worn or cracking.
For our newer systems that have aluminized shielding on the torch hoses or other hoses in the system, you will want to slide the shielding back to check the hoses underneath or remove the shielding from the hose to give it a thorough inspection.
If your aluminized heat shielding that covers your hoses is worn or getting brittle, or you want to add some to your torch hoses, please contact us and let us know how much you will need.
If you remove any hoses or parts that had sealant tape on them, be sure to remove all of the old sealant tape and apply new tape before reassembling. You will want to use Gas Tape which is typically yellow and not water plumbers tape which will likely leak in short order.
Torch Maintenance.
Run your unit on full flame in low light conditions – on an overcast day or at dusk or dawn to enable you to easily see the flame pattern.
If there is any obstructions in your torch orifices, you will see it then.
Clean your torches and re-seal the threaded parts with gas tape, or high Temp Copper Anti-seize.
(I prefer anti-seize unless there is a persistent leak, then I use tape.)
Keeping your torches clean and free from debris before beginning always makes for a good day in the field.
In this video, Darren at Flame Engineering goes over simple torch maintenance that will keep your torches at top performance and help them last for many years to come.
If you need any help, or need to order parts, we’re here when you need us.
Contact us online or call any time.
Get ready for a great growing season!

